

At this stage, you should have already bought the actual fish tank, substrate, and equipment.
The following article will take you step by step on how to set up a fish tank especially if you are a beginner.
It is advisable to even have any fish tank decorations that you would like to include on hand.
These help tremendously with housing beneficial bacteria.
- Decide Where To Place Your Fish Tank
- Handle the Fish Tank With Care
- Place the Fish Tank Stand in the Right Position Before Moving the Tank
- Place the Tank On Top of the Stand
- Clean the Tank
- Now Add the Substrate and Gravel
- Half Fill Your Tank With Water
- Add the Fish Tank Decorations and Plants
- Install the Filter and Heater
- Hood and Lights
- You are Done
- Next Step
Decide Where To Place Your Fish Tank
This is a very important decision so take your time before you make the final decision.
Keep the following in mind:
- Do not place it in front of a window – algae thrives in direct sunlight and you also need access to clean or open the window
- Put it in an area where it will not be bumped by people walking past it – a simple bump, if it is hard enough, can cause your tank to burst
- Keep your tank away from air conditioners or heating equipment – the fluctuations in temperature will have a direct impact on the health of your fish. If near an aircon, your heater will struggle to maintain the correct temperature and use lots more electricity. If near a heater then the temperature in your tank could go too high and kill your fish.
- The area needs to be able to take the weight of a fully set-up tank – this should not be a problem for a small tank but will definitely be a factor if you are setting up a large tank.
- The flooring needs to be level – if the tank is standing on an uneven floor then it will weaken the overall structure of the tank and it could start to leak.
- Check that direct sunlight does not fall in that area at all – sunlight can come from weird angles depending on the season and time of day. Take a day and spend time in the area where you plan to have your tank and keep an eye out for sunlight hitting that area. If your tank gets direct sunlight from the front or sides then you will have an algae problem.
- Electrical outlets – You will need electricity to run the filter, air pump, and lights. The last thing you will want is to have to run an extension cable across the floor. Someone could trip on it and it will not look nice.
- Try to place it close to where the water source will be for water changes – this is not a deal breaker but it makes it easier to carry buckets of water if you are close to where the water needs to be drained or filled up.
- Lastly, put it where you will be able to view it – so that you can enjoy watching your fish tank from the comfort of a chair or couch (with a drink in hand).
Take your time to decide where the fish tank will be placed.
Once you fill it up it cannot be moved unless you empty the whole tank again.

Handle the Fish Tank With Care
If it is larger than a 2ft fish tank then try and have someone on hand to help you lift it up and turn it around.
Make sure your hands are dry when moving it to avoid it slipping and breaking.
When moving the tank, support it by holding one hand under the tank on the bottom panel.
Do not lift it up by grabbing only the sides. The tank could easily slip out of your fingers.
Never try to move a fish tank that is half or fully full – it will definitely crack.
I recommend only moving a completely empty fish tank so as not to compromise it in any way.
Place the Fish Tank Stand in the Right Position Before Moving the Tank
Remember to leave a little bit of space behind the tank in case you would like to add a HOB filter later on.
You need to be able to remove the hood and get access to any electrical points as well.
Place the Tank On Top of the Stand
All my tanks have a sheet of polystyrene (about a finger width) between the tank and stand to accommodate any slight movement. The polystyrene cushions the tank from vibrations that could come from the filter or a slight bump.
Make sure the tank is even and centered on the stand and completely level.
Clean the Tank
Use a damp cloth and wipe down the inside and outside of the tank.
This will remove dust or anything else that has attached itself to the tank during storage and transport.
Do not use any chemicals or household products. Just plain water.

Now Add the Substrate and Gravel
Make sure that the gravel has been thoroughly washed first. This does not apply to aquarium soil.
The water needs to run clear when rinsing. Wash it well or else the tank will be very cloudy after adding the water and the cloudiness will take a long time to go away.
Use a small plastic bowl to scoop the gravel out of the bucket and into your tank.
Be gentle and careful. Do not throw it in from a height. You will not want to chip your tank.
Smooth the gravel out to how you would like it to look.
Some people like to have it totally even throughout the tank while others like it to slope down from the back to the front.
You can even be creative and build a small mountain on the one side.
This is totally up to you.
Half Fill Your Tank With Water
Only use water that has been treated with a dechlorinator.
The dechlorinator removes heavy metals and other harmful chemicals.
Never use untreated water as the chlorine could kill your fish.
So as not to disturb the gravel, place a large plate face down on the top of the substrate.
Slowly pour the water onto the plate so that it gently fills up the tank.
Fill the fish tank halfway for now.
Add the Fish Tank Decorations and Plants
Any decorations or plants need to be rinsed off first before placing them into the tank.
Even live plants can do with a rinse. Check them for snails or snail eggs before adding them.
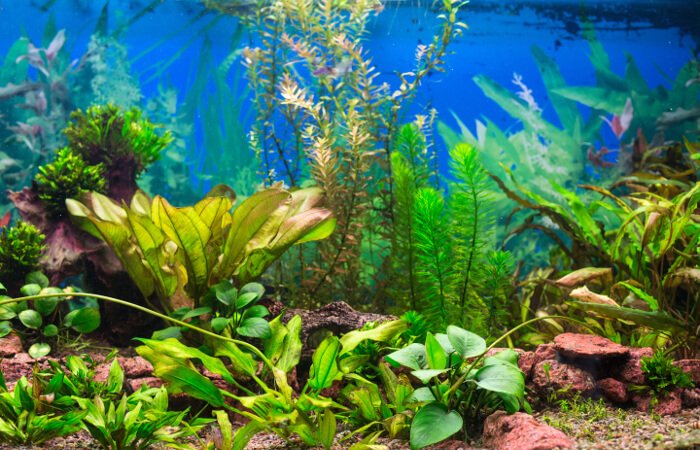
As a rule of thumb, tall plants need to be at the back of a tank, medium-sized ones in the middle, and short or carpet-type plants in the front.
This allows for free swimming space and you will be able to see your fish better.
Once you have placed the decorations and plants continue to fill up the fish tank to within an inch from the top rim.
Install the Filter and Heater
Please make sure you read all the safety precautions provided with the heater and filter.
Filters are excellent for housing bacteria and for producing water flow in the tank.
If you have an internal filter then position it on one of the short sides of the tank pointed towards the opposite glass. It should be totally submerged.
A sponge filter can basically go anywhere. I normally put it in one of the back corners.
A HOB filter works well positioned in the middle of the back glass.
The heater needs to be where there is a good flow of water. Ideally, it should be stuck to the back glass panel more or less in the middle so that it can distribute the heat evenly.
Let it lie either horizontally or diagonally. Heat rises so if you position the heater vertically then the rising heat will keep switching the thermostat off.
You can switch the filter on immediately but leave the heater unplugged for about half an hour to acclimatize it to the temperature of the water before switching it on.
Hood and Lights
Some hoods have the lights installed in them and some don’t.
Hoods prevent your fish from jumping out and they reduce evaporation.
Lights are crucial if you have any live plants in the tank and they also bring out the natural colors of your fish.
You are Done
You have now gone through all the steps on how to set up a fish tank.
Next Step
The next step is to allow it to cycle for the next six to eight weeks.